Vectrex Studio includes a full Git client in the sidebar. All common operations are available without leaving the IDE.
Open the Git panel by clicking the branch icon in the activity bar, or with Ctrl+Shift+G (Windows/Linux) / Cmd+Shift+G (macOS).
Staging and Committing
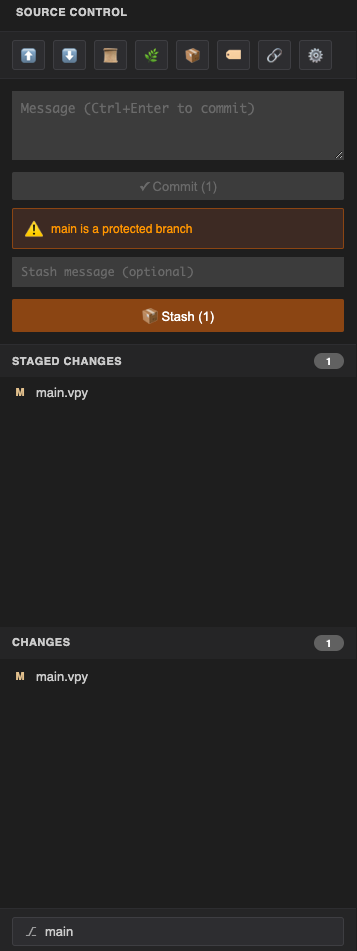
The panel lists all modified files in two groups: Staged (will be included in the next commit) and Unstaged (modified but not yet staged).
- Click the + icon next to a file to stage it, or − to unstage.
- Click the filename to open a diff of that file.
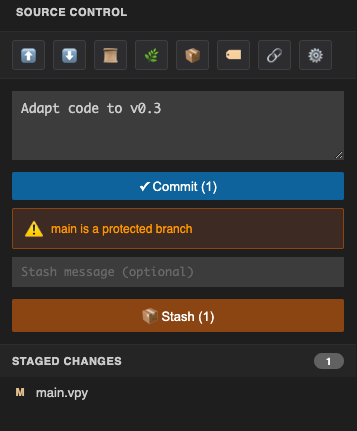
- Type a commit message in the text field at the top of the staged list.
- Click Commit or press Ctrl+Shift+C to commit.
| Shortcut | Action |
|---|---|
| Ctrl+K | Stage the currently open file |
| Ctrl+Shift+C | Commit staged changes |
Push and Pull
The toolbar at the top of the Git panel shows the current branch and how many commits it is ahead or behind the remote.
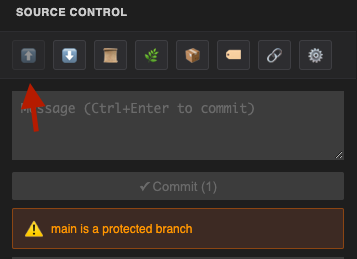
- Push (↑) — send local commits to the remote. Keyboard: Ctrl+J.
- Pull (↓) — fetch and merge remote commits. Keyboard: Ctrl+L.
If the current branch is protected (e.g. main with branch protection rules), the Push button is disabled and a lock indicator appears.
Branching
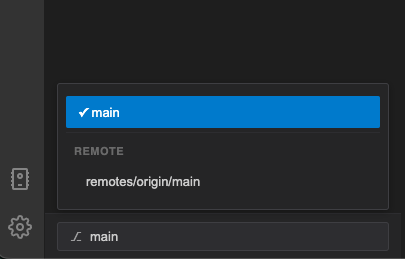
Click the branch name in the toolbar to open the branch dropdown. From here you can:
- Switch to an existing branch — click its name in the list.
- Create a new branch — click + New branch, enter a name, and confirm.
Keyboard: Ctrl+G opens a quick branch switcher.
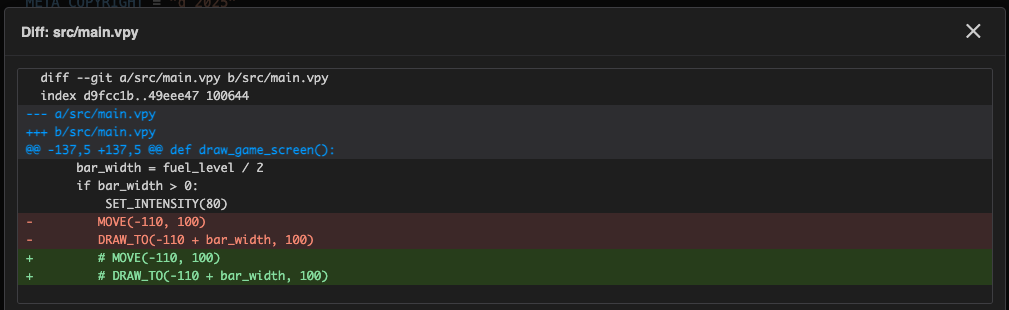
Diff Viewer
Click any filename in the staged or unstaged list to open the diff viewer. It shows a unified diff of the file against the last commit, with removed lines in red and added lines in green.
Keyboard: Alt+D opens the diff for the currently open editor file.
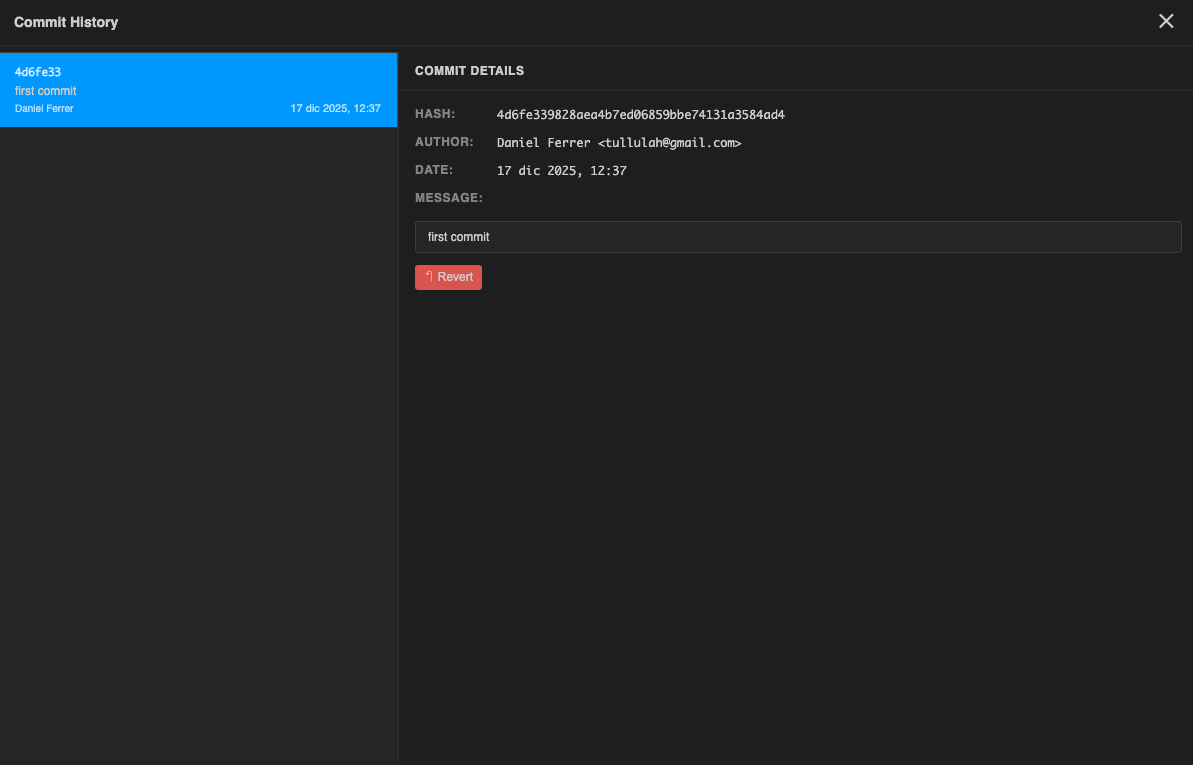
Commit History
Click the clock icon in the Git panel toolbar to open the commit history for the repository.
- Each entry shows the short hash, message, author, and date.
- Click a commit to expand it and see which files changed.
- Use Ctrl+Shift+F to open a search box and filter commits by message or author.
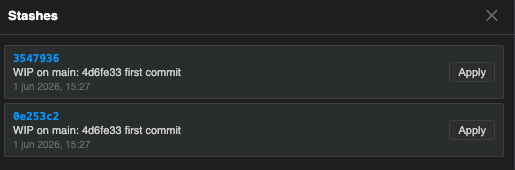
Stash
The Stash section at the bottom of the Git panel lets you save and restore work-in-progress without committing.
- Click Stash to save all current changes to the stash stack.
- The stash list shows each entry with its message and date.
- Click Apply on a stash entry to restore it.
Conflict Resolution
When a pull or merge produces conflicts, a Conflicts button appears in the Git panel toolbar. Click it to open the three-panel conflict resolver.
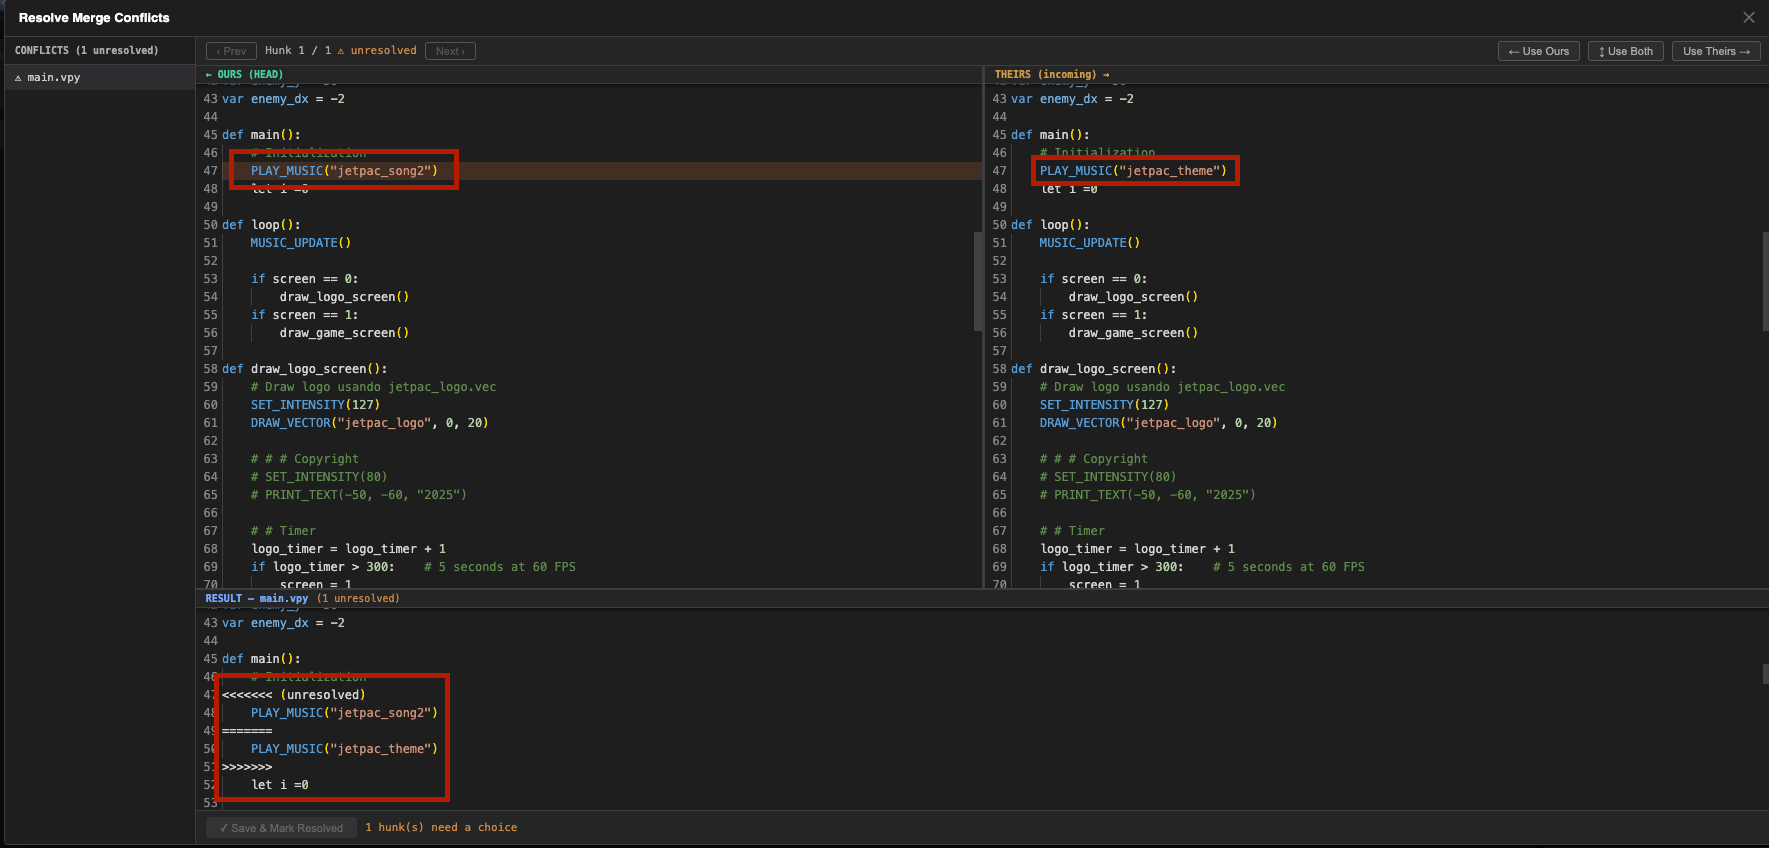
Layout
| Panel | Content |
|---|---|
| ← Ours (HEAD) | Full file with your local version of each conflict region |
| Theirs (incoming) → | Full file with the incoming version of each conflict region |
| Result | Editable Monaco editor that updates as you make choices — this is what gets saved |
All three panels scroll in sync. Conflict regions are highlighted: orange for the active hunk, red-tinted for unresolved hunks, and green for resolved ones. The overview ruler on the right edge of each editor shows conflict positions at a glance.
Resolving conflicts
- Use ‹ Prev / Next › in the toolbar to navigate between hunks. The active hunk is highlighted and centred in all three panels simultaneously.
- For each hunk, click one of the three choice buttons:
- ← Use Ours — keep your local change
- ↕ Use Both — include both versions one after the other
- Use Theirs → — accept the incoming change
- The Result panel updates immediately. You can also edit it directly for a custom resolution.
- Once all hunks are resolved (toolbar shows all resolved), click ✓ Save & Mark Resolved. The file is written to disk, staged, and the open editor tab refreshes automatically.
Repeat for every conflicted file listed in the sidebar. When all files are resolved, enter a merge commit message and click ✓ Complete Merge.
Keyboard Reference
| Shortcut | Action |
|---|---|
| Ctrl+K | Stage current file |
| Ctrl+Shift+C | Commit |
| Ctrl+J | Push |
| Ctrl+L | Pull |
| Ctrl+G | Quick branch switcher |
| Ctrl+Shift+G | Open Git panel |
| Ctrl+Shift+F | Search commit history |
| Alt+D | Diff current file |